Creating an ad is a great way to increase exposure and reach a larger audience outside of your current network. Creating an ad within the Ads Manager offers more options for the ad than a boosted post. The ad also does not show up on your social feed. Instead, it is placed on the feeds of those who match the ad’s criteria as sponsored content.
Getting Started:
- Navigate to your Facebook business page
- Click on Meta Business Suite
- Switch to use Facebook as the business
- Click on All Tools
- Click on Ads Manager
Ads Manager
Creating an Ad in Ads Manager
After navigating to the Ads Manager, double-check that you are in your business ad account. This is located at the top of the page.
Click on the Create button to start an ad.
Follow the prompts to start setting up your ad. You will start by selecting your campaign objective. You may have to test out different objectives throughout your campaigns to see which is most effective for your business. You may choose to start with an objective to generate interest in your practice, and you can do that with an awareness objective. A traffic objective could work well as the ads feature the quiz links and promote traffic to a website landing page. And finally, an engagement objective could work nicely to promote clicks on your ad and the link to the quiz.

Next, you will name your campaign. It’s important to name your campaign with a title that has meaning to you so that if you were to have a list of campaigns, you would be able to identify the differences between the ads from that list. It’s recommended to name the campaign with the survey you are promoting and the objective. Ex: Focus_1stPerson_Engagement

As stated throughout the documentation regarding Facebook Advertising, many options exist to personalize your ad set up. These instructions list the basic features that you should be using to get started. You may choose at any point to pursue more options and settings within the ad setup.
Set your Ad Set Name
The next steps get more specific about your ad. Name your Ad Set with either a matching name to your Campaign, or if you want to specify the type of graphic you are using on the ad, you can make note in the name. Ex: Focus_1stPerson_Engagement_ComputerImage
On this screen, you will also set your conversion setting. These settings may change depending on your objective. Consider your objective, and determine which conversion setting is best. You can always try the ad one way, then run it again using a different conversion setting to test its effectiveness.
Continue through the prompts on this screen.
At this point, you may need to update your Pixel implementation or confirm its connection to the ad. Continue to the budget section and determine your start/stop day and your daily budget. A $5 daily budget is a good place to start.
Determine Your Goal
Find Data to Create Your Audience
Homepage -> Insights 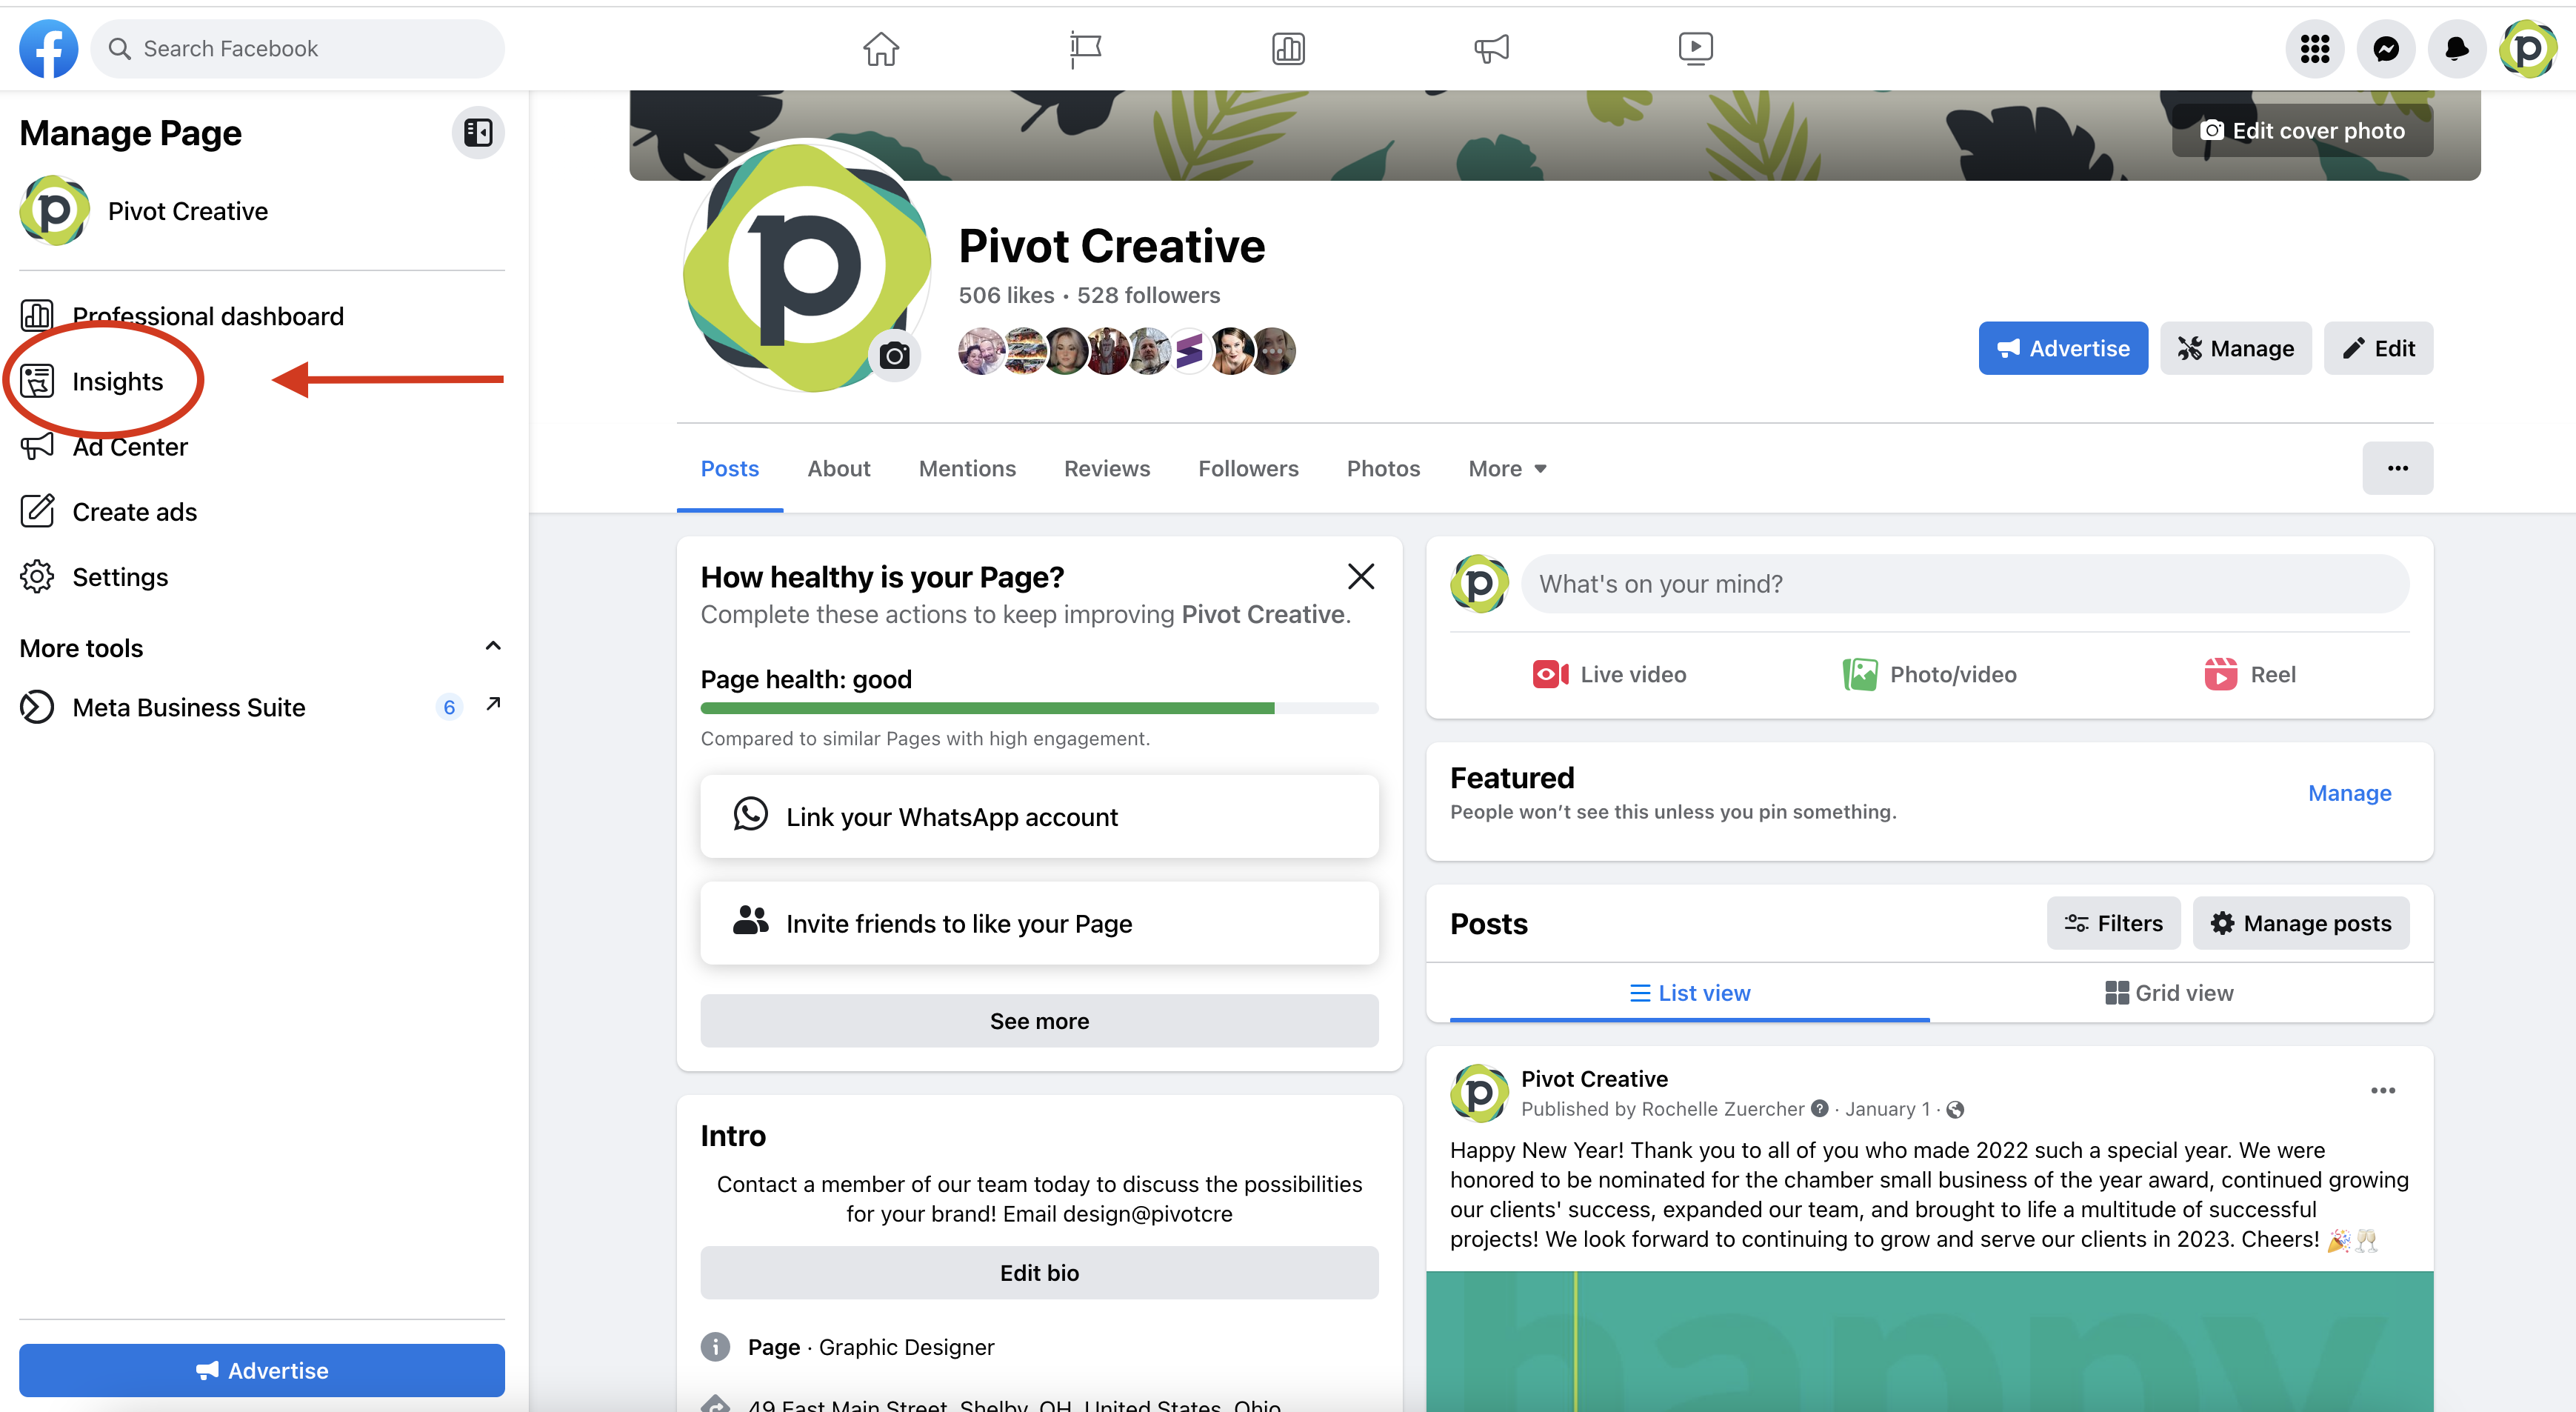
Insights -> Audience 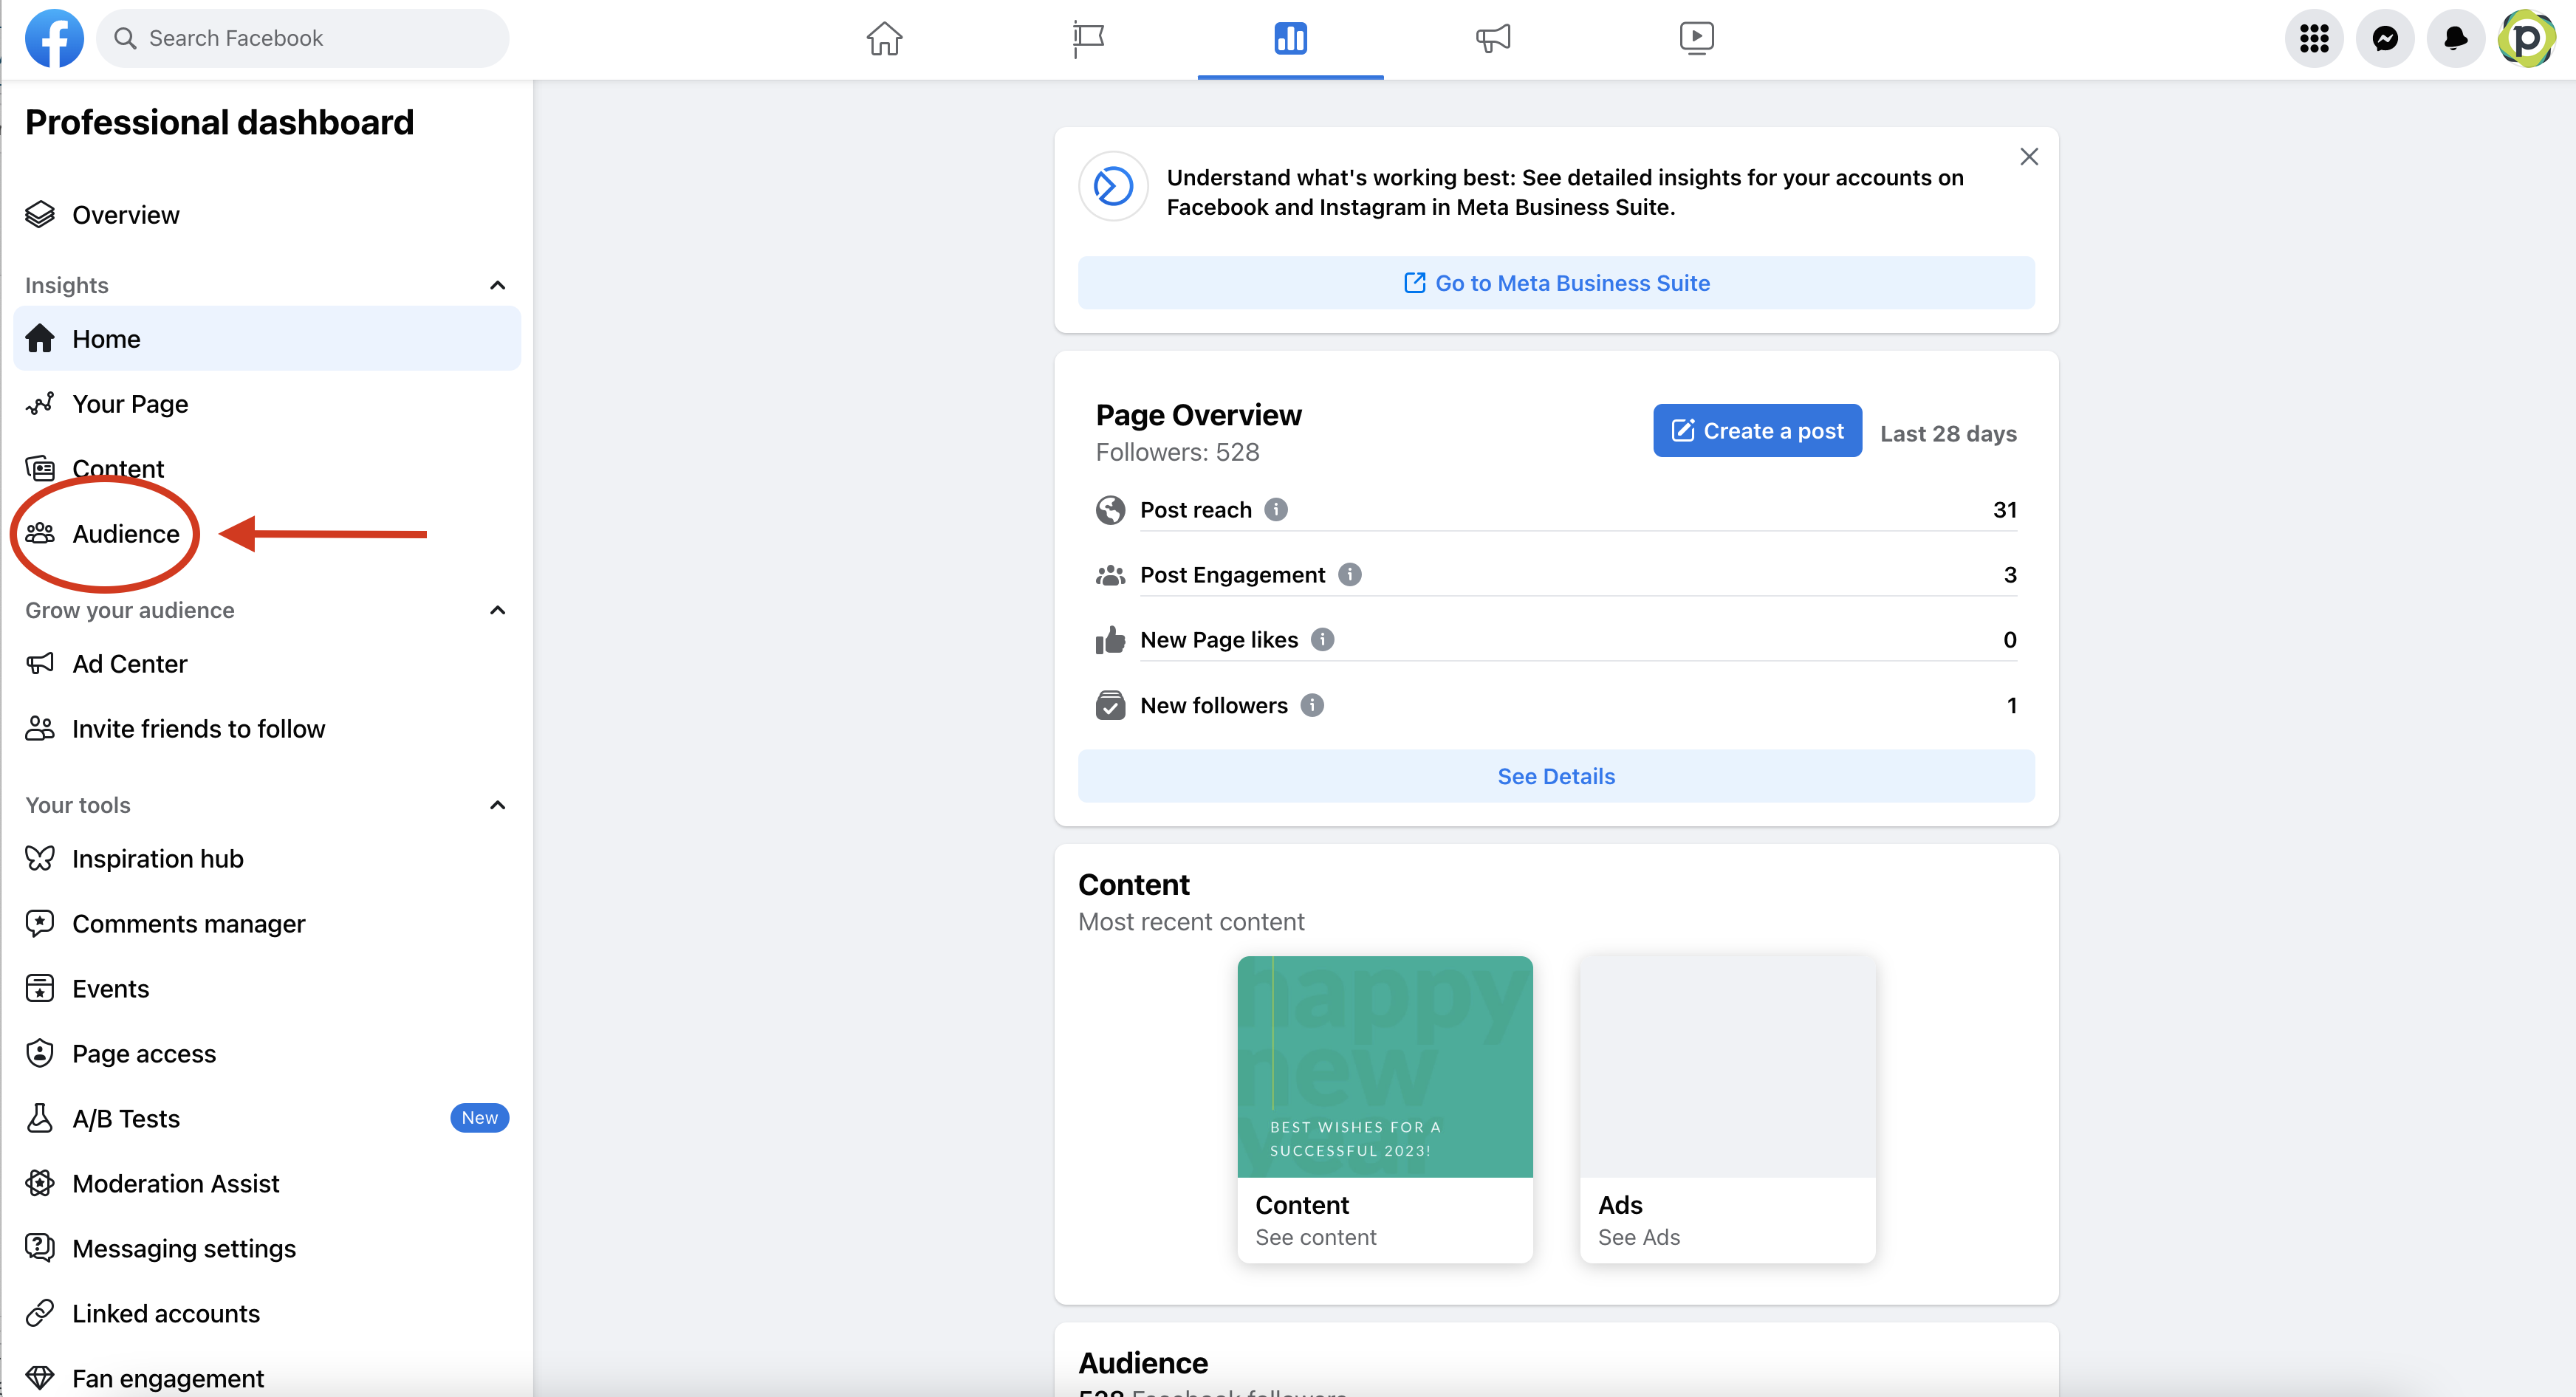
Audience -> gives an overview of the people that interact with the page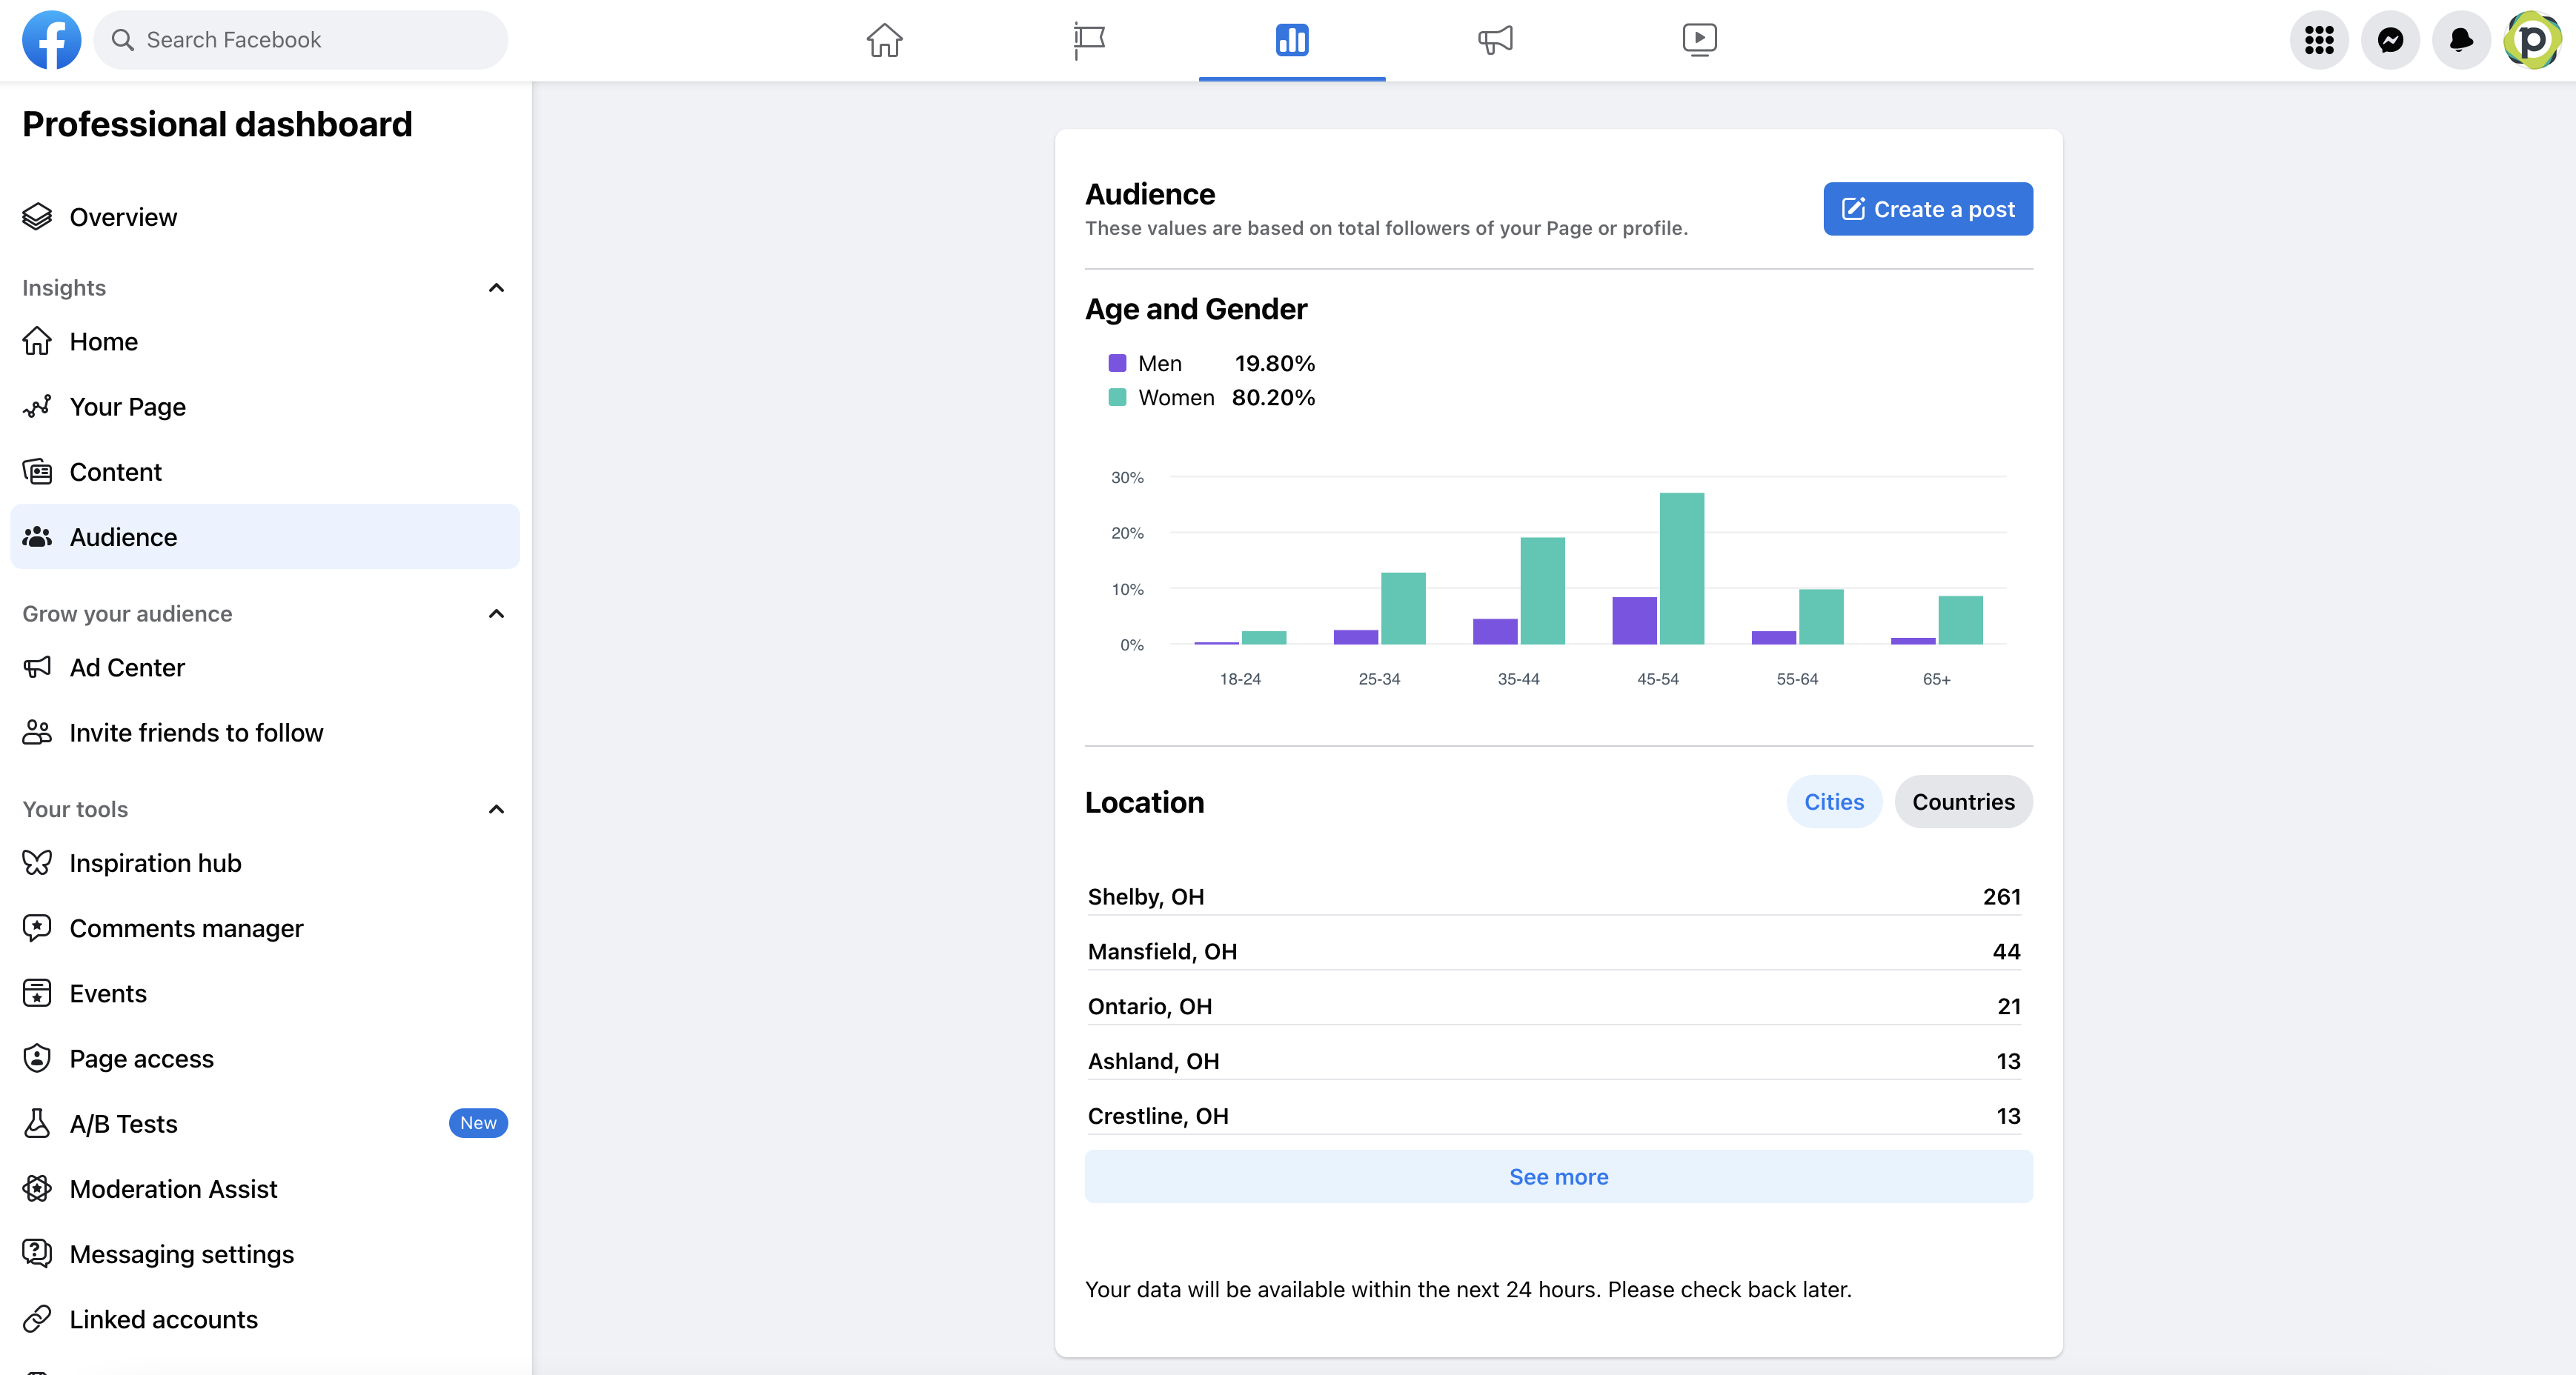
Building Your Audience
- Audience Targeting – Location, Age, & Gender
- Creating a New Audience
- Can customize to any location (country, city, town), age, gender
- If the Advantage+ audience box appears click ‘Switch to original audience options’ and continue through creating an audien

- Creating a New Audience
-
-
- if new to Facebook ads it was recommended to start in a local area
-
- Detail Targeting – Demographics
- Focus on adding demographics such as education, financials, work, interests, etc.
- Focusing on industry is not always a good demographic because people are changing jobs all the time.
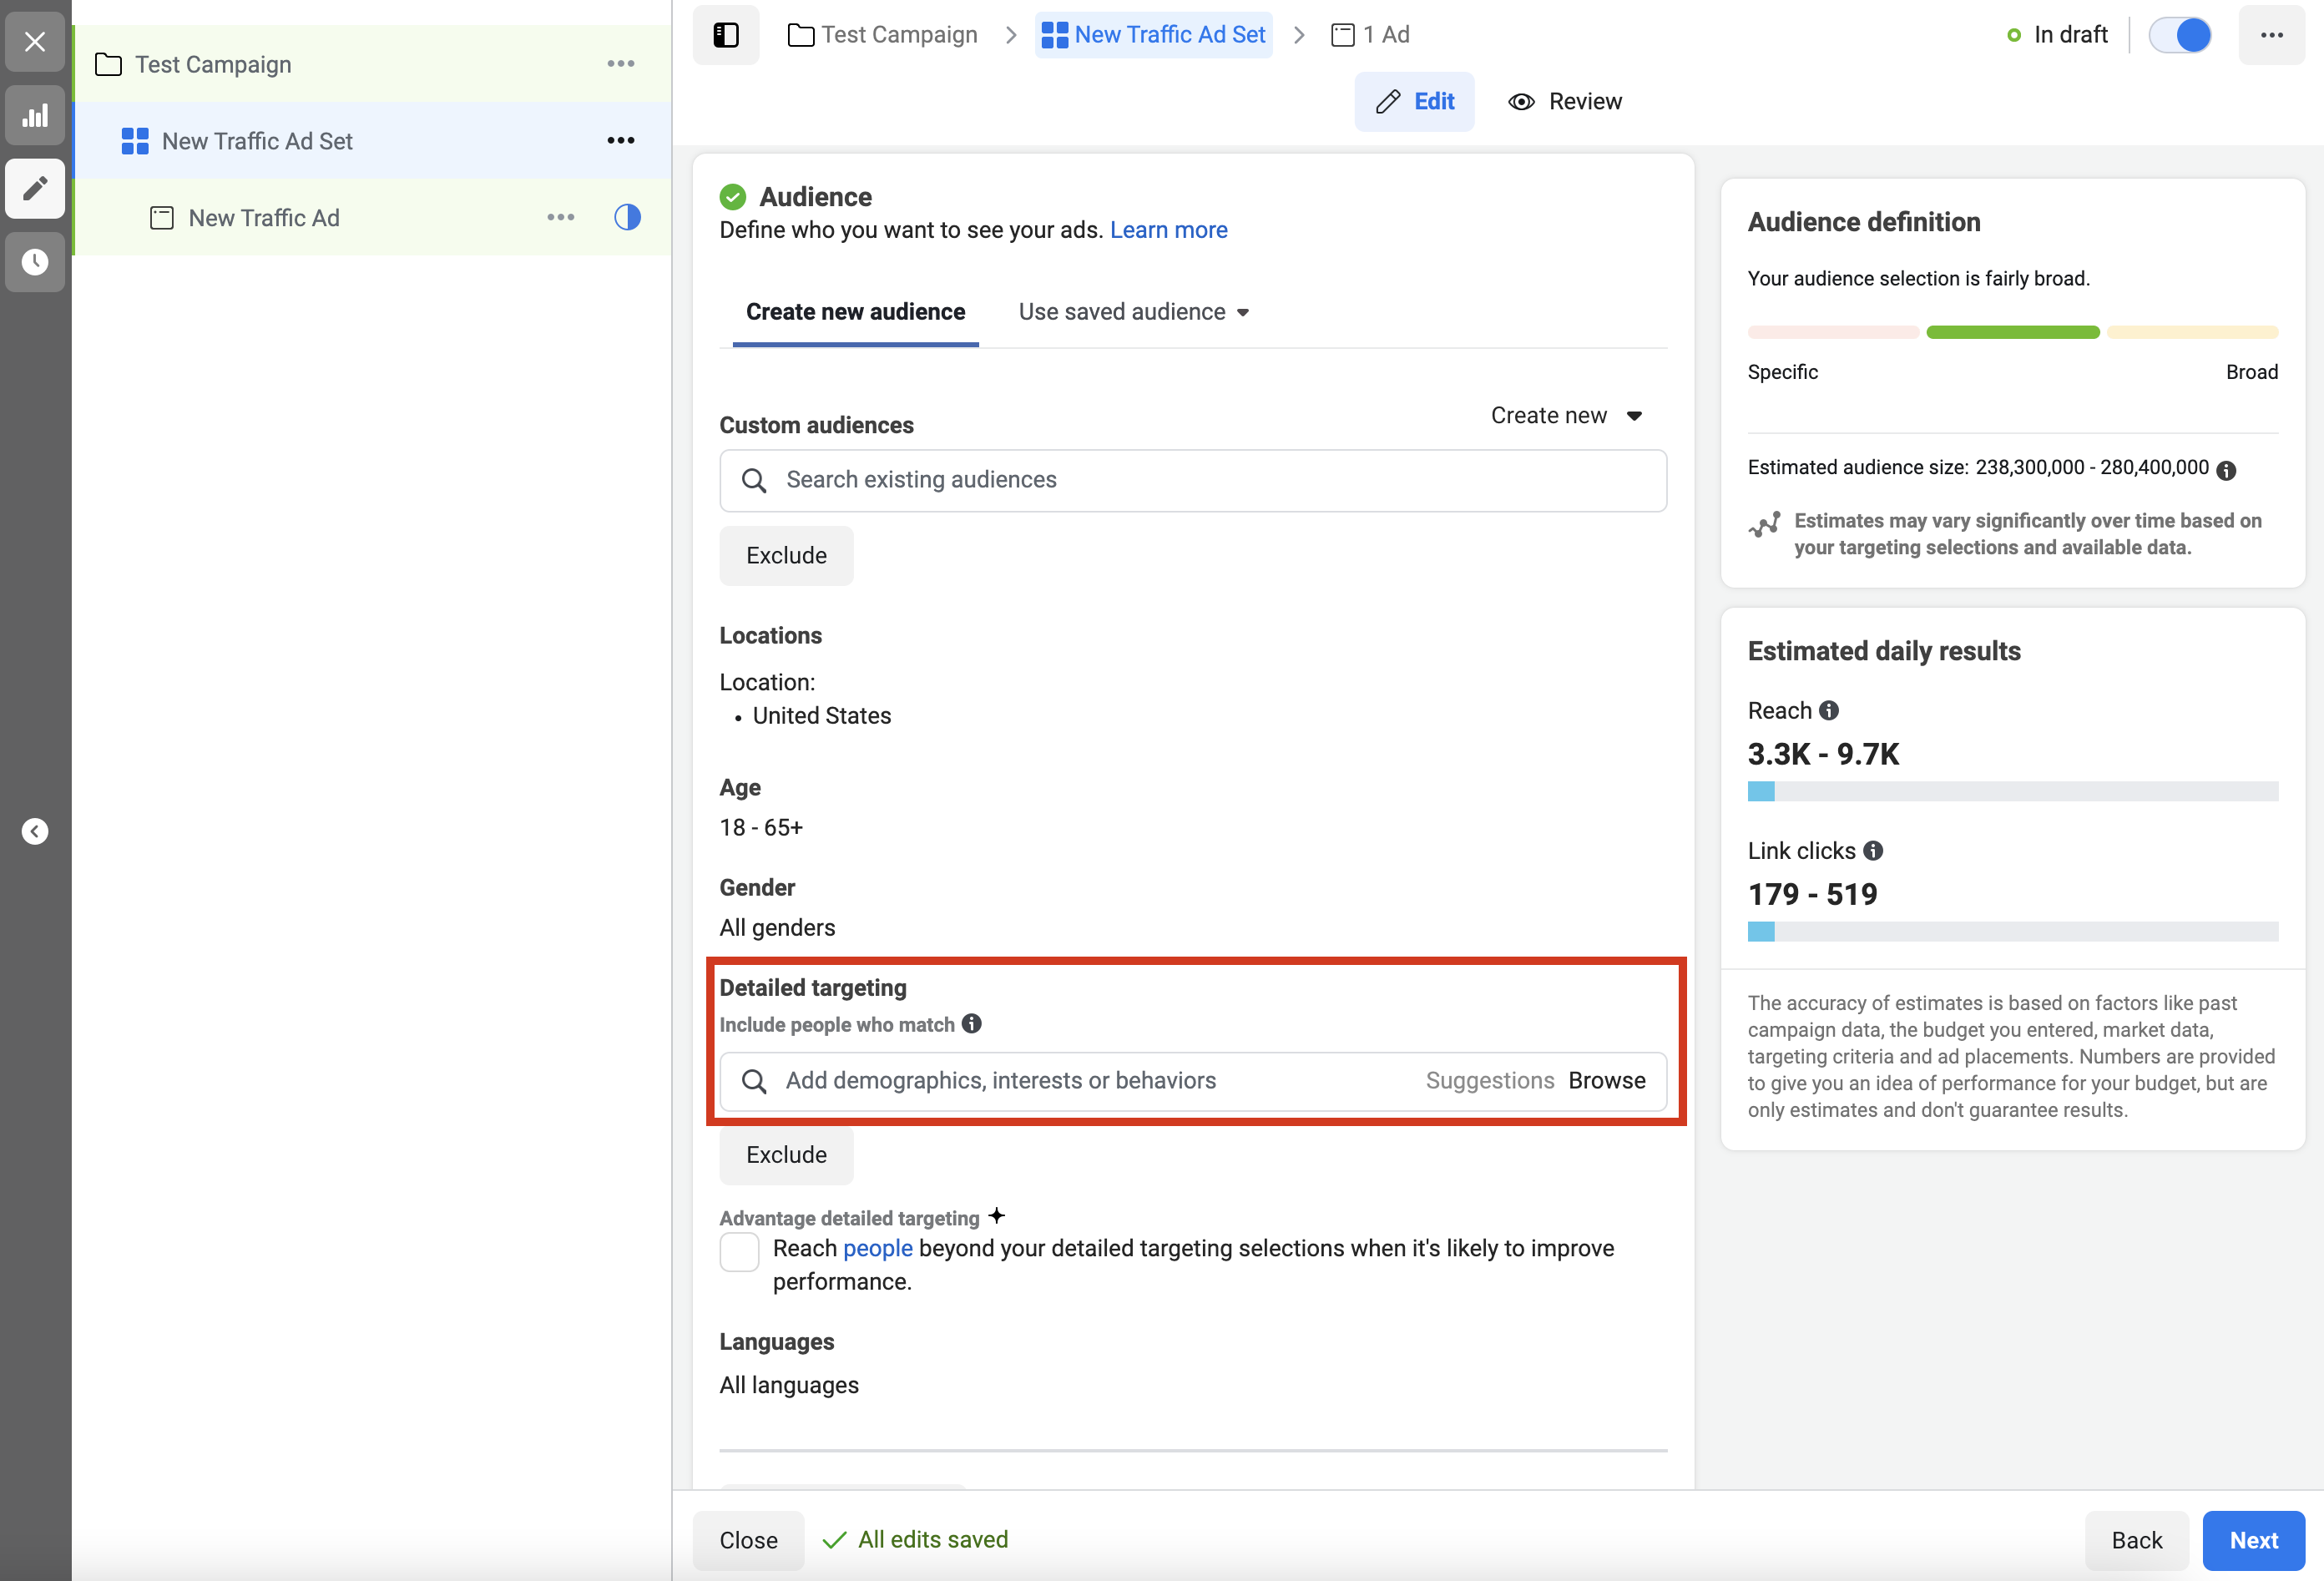
- Detailed Targeting – Interest
- Put yourself in the customer’s shoes and pull what you think would align with the businesses service/product. You can develop a list, review, and then narrow it down.
- Detailed Targeting – Behaviors
- Can target mobile devices, travel
- you can change your connections but be careful of making your range too narrow
Determine Your Budget & Duration
Budget & Schedule
- Keep ‘Daily Budget’
- Change the budget price to the amount you’d like to invest in to that specific ad.
- Select a day and time in which to start and end the ad (end date is optional)
Budget & Schedule
- Keep ‘Daily Budget’
- Change the budget price to the amount you’d like to invest in to that specific ad.
- Select a day and time in which to start and end the ad (end date is optional)
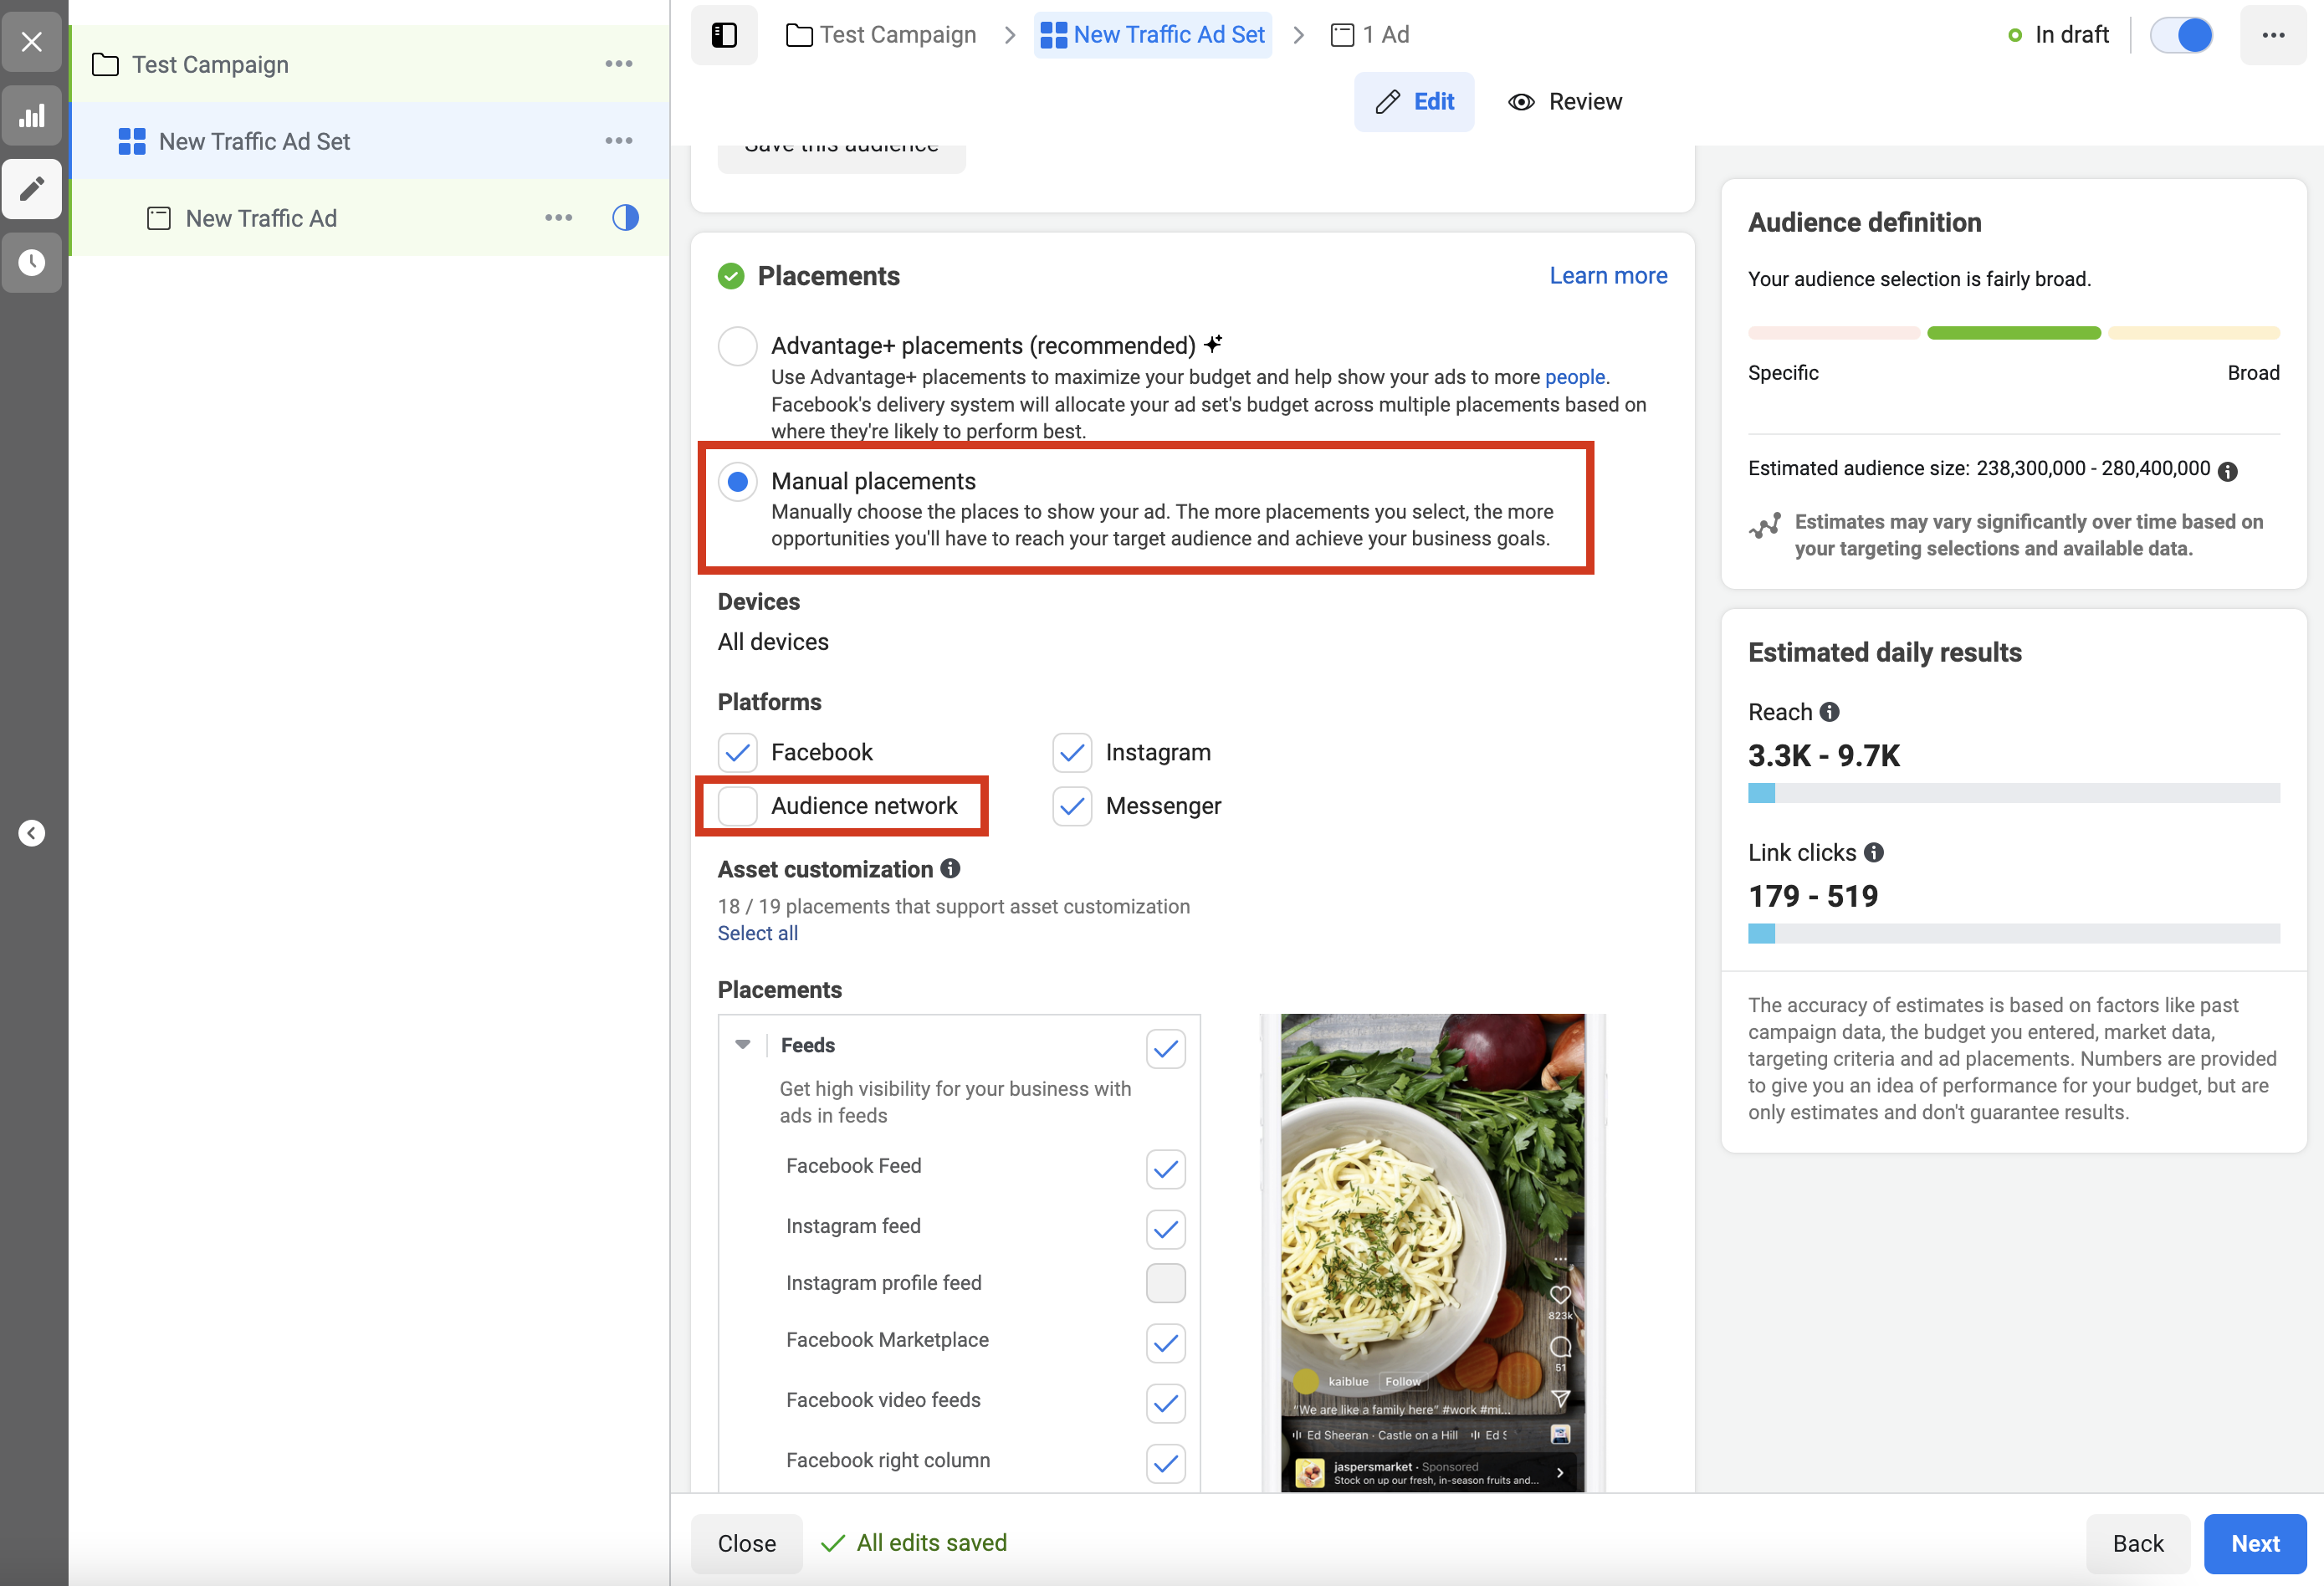
Determine Your Placement
- Placement – can show post in multiple places (including both Facebook and Instagram)
-
-
- Click ‘Manual placements’
- Unclick ‘Audience platforms’
- we unclick this because it is unknown where or what apps our ad will go to if this is selected so for more control over your ads we unclick ‘Audience platforms’
- Select which ‘Placements’ you want these ads to appear on. Includes feed, stories & reels,search results, messages, etc.
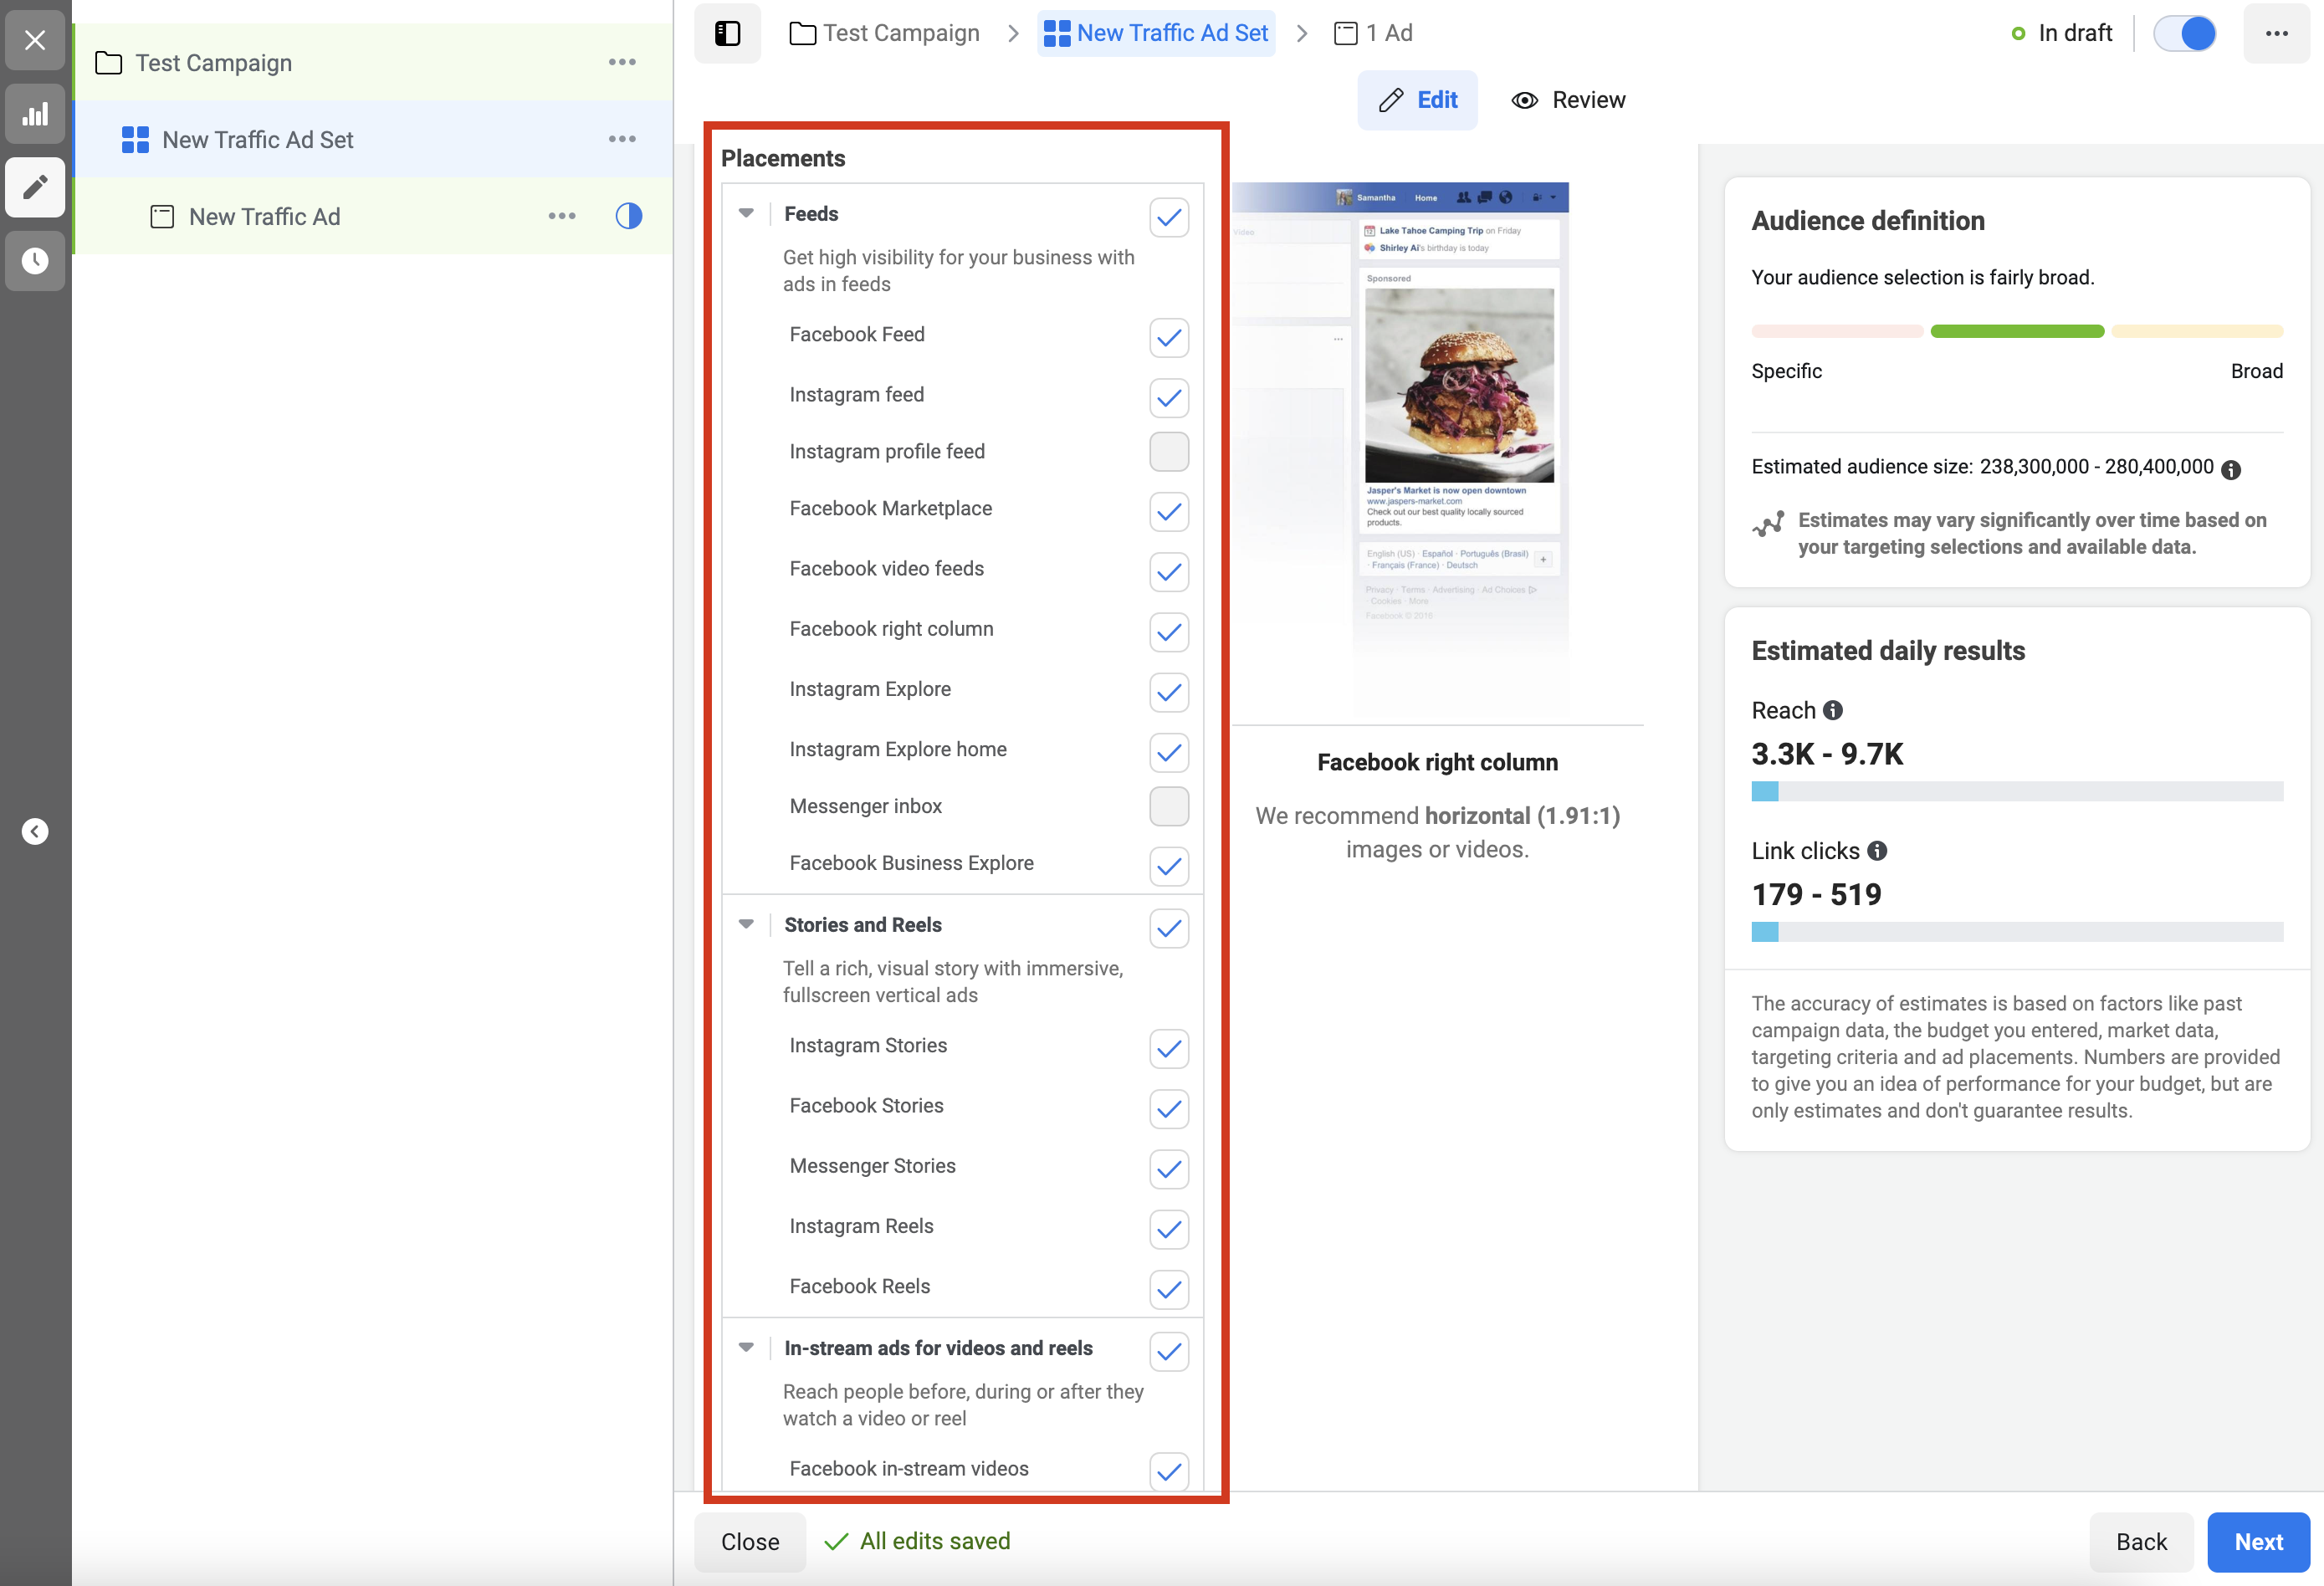
- Ads in ‘News Feed’ do better than those on ‘Marketplace’
- If new to Facebook ad, start off on ‘Facebook News Feed’ and the ‘Facebook right-hand column’
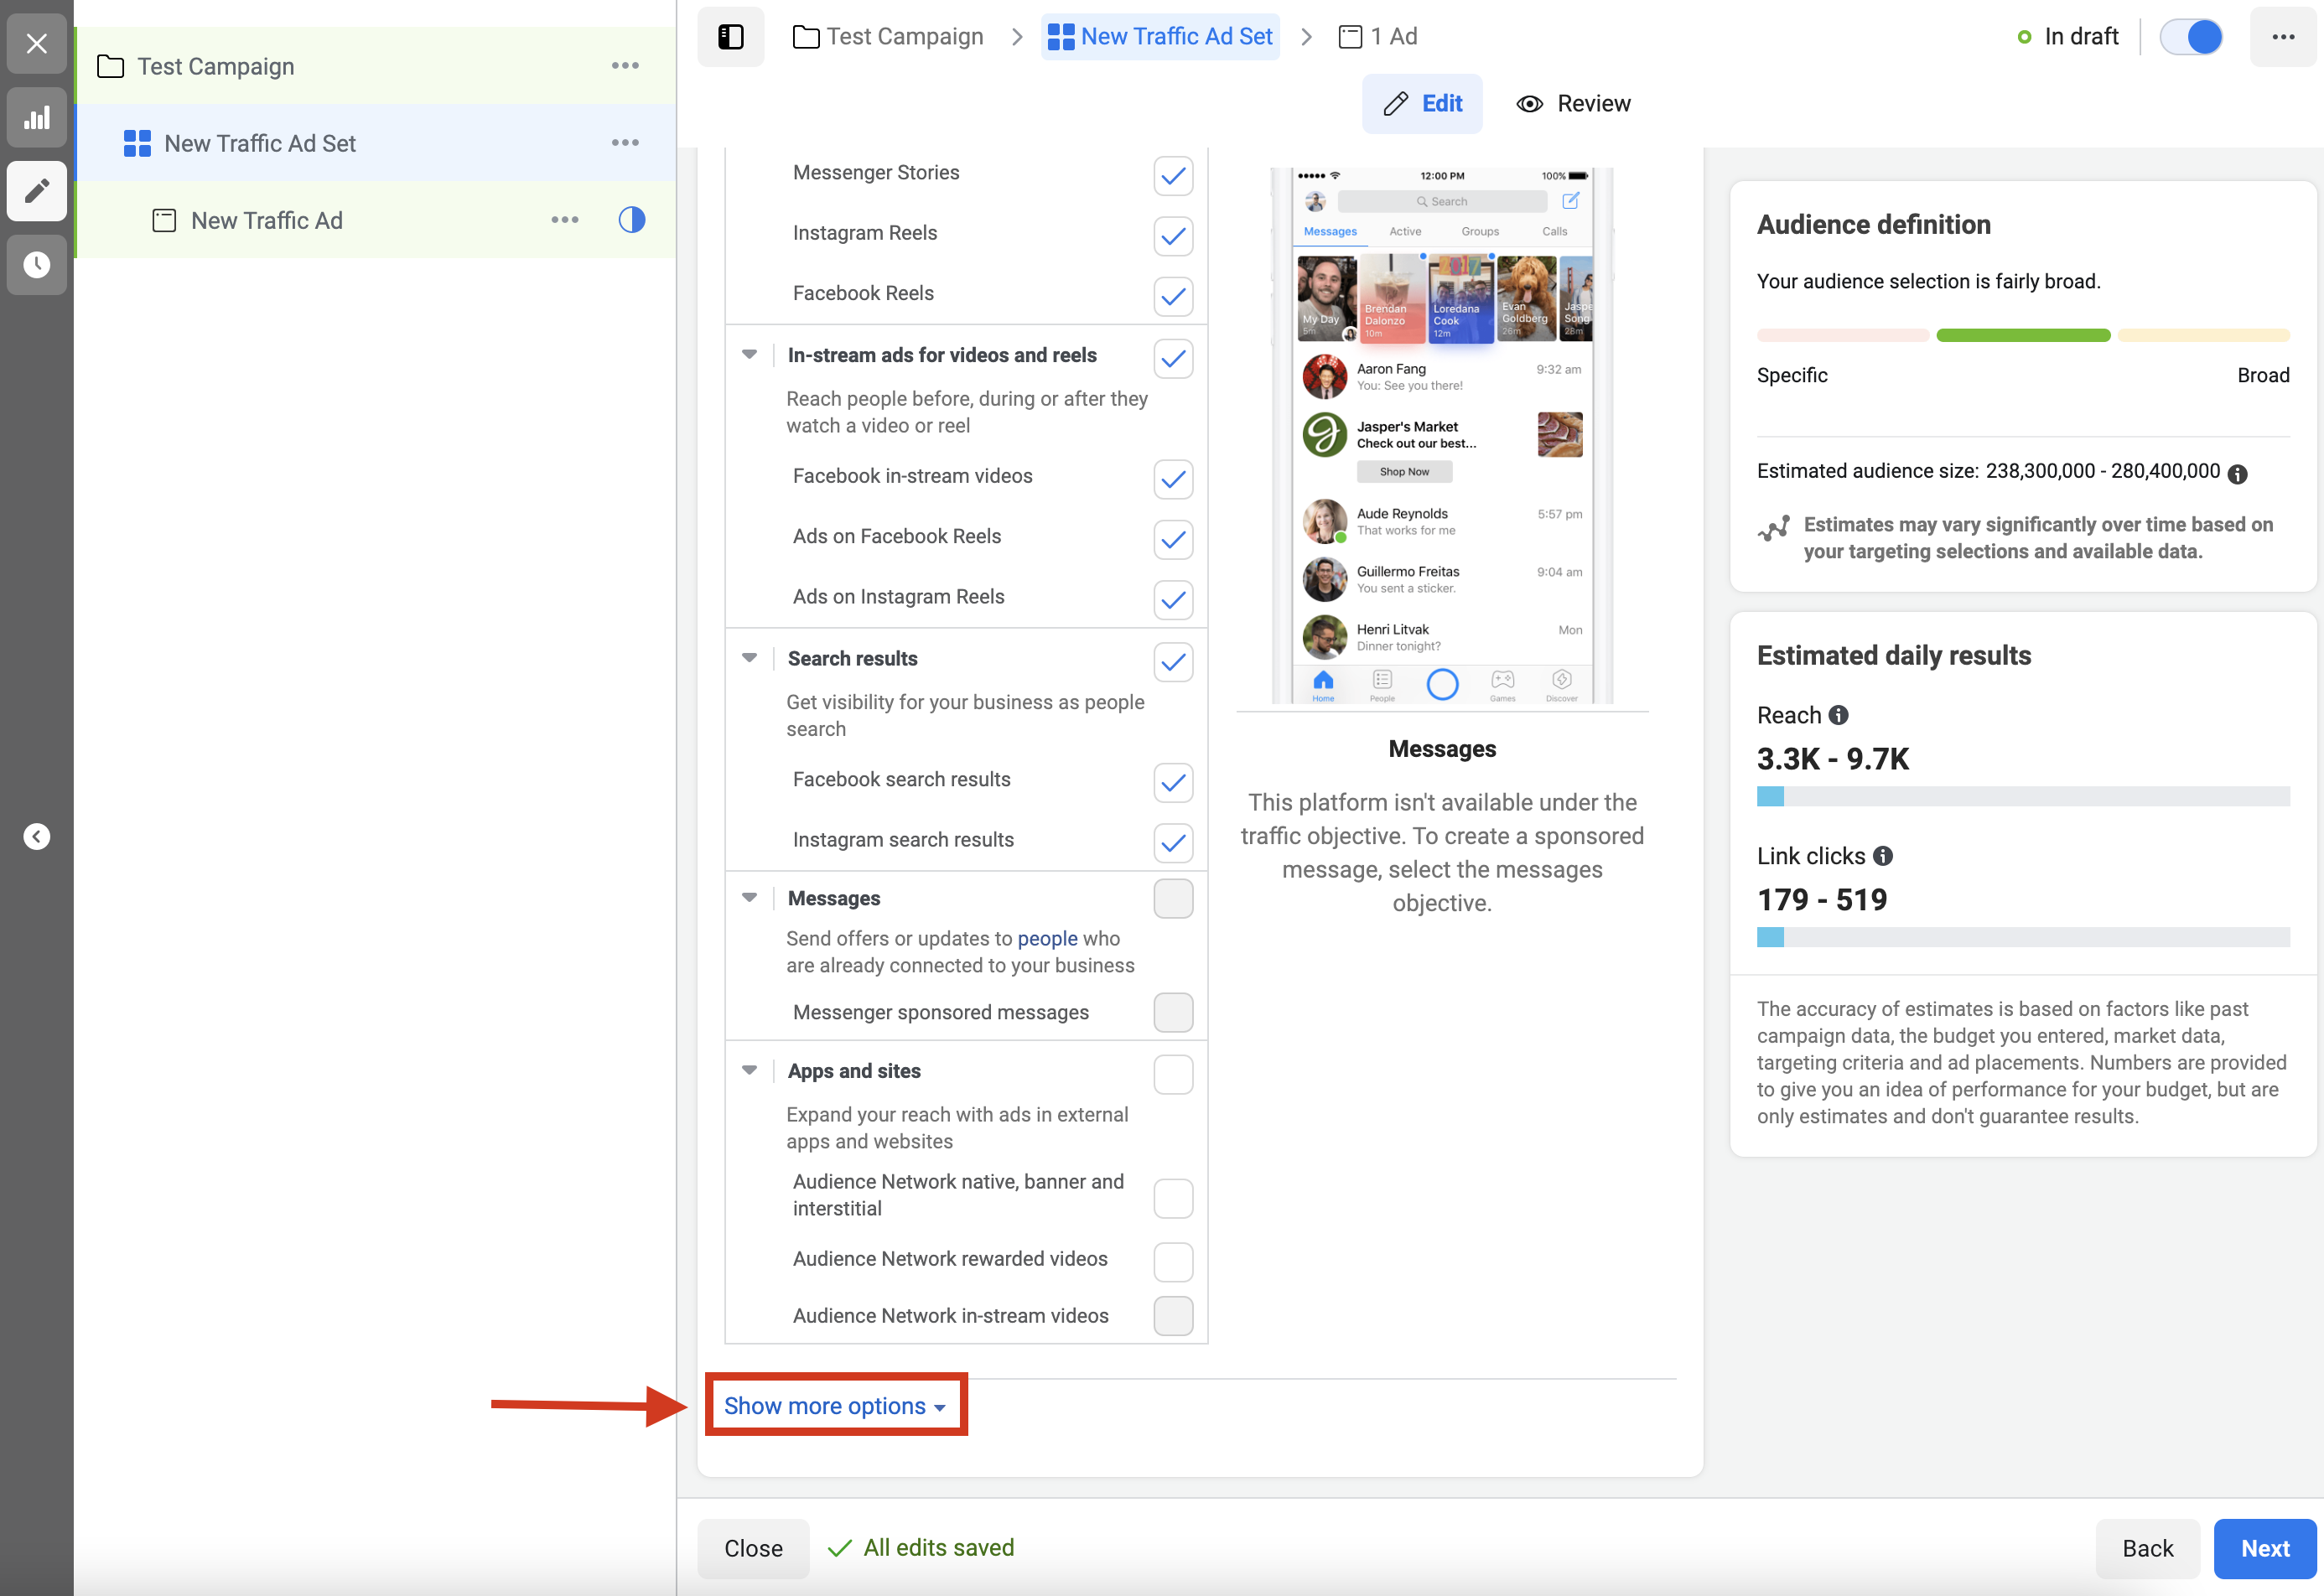
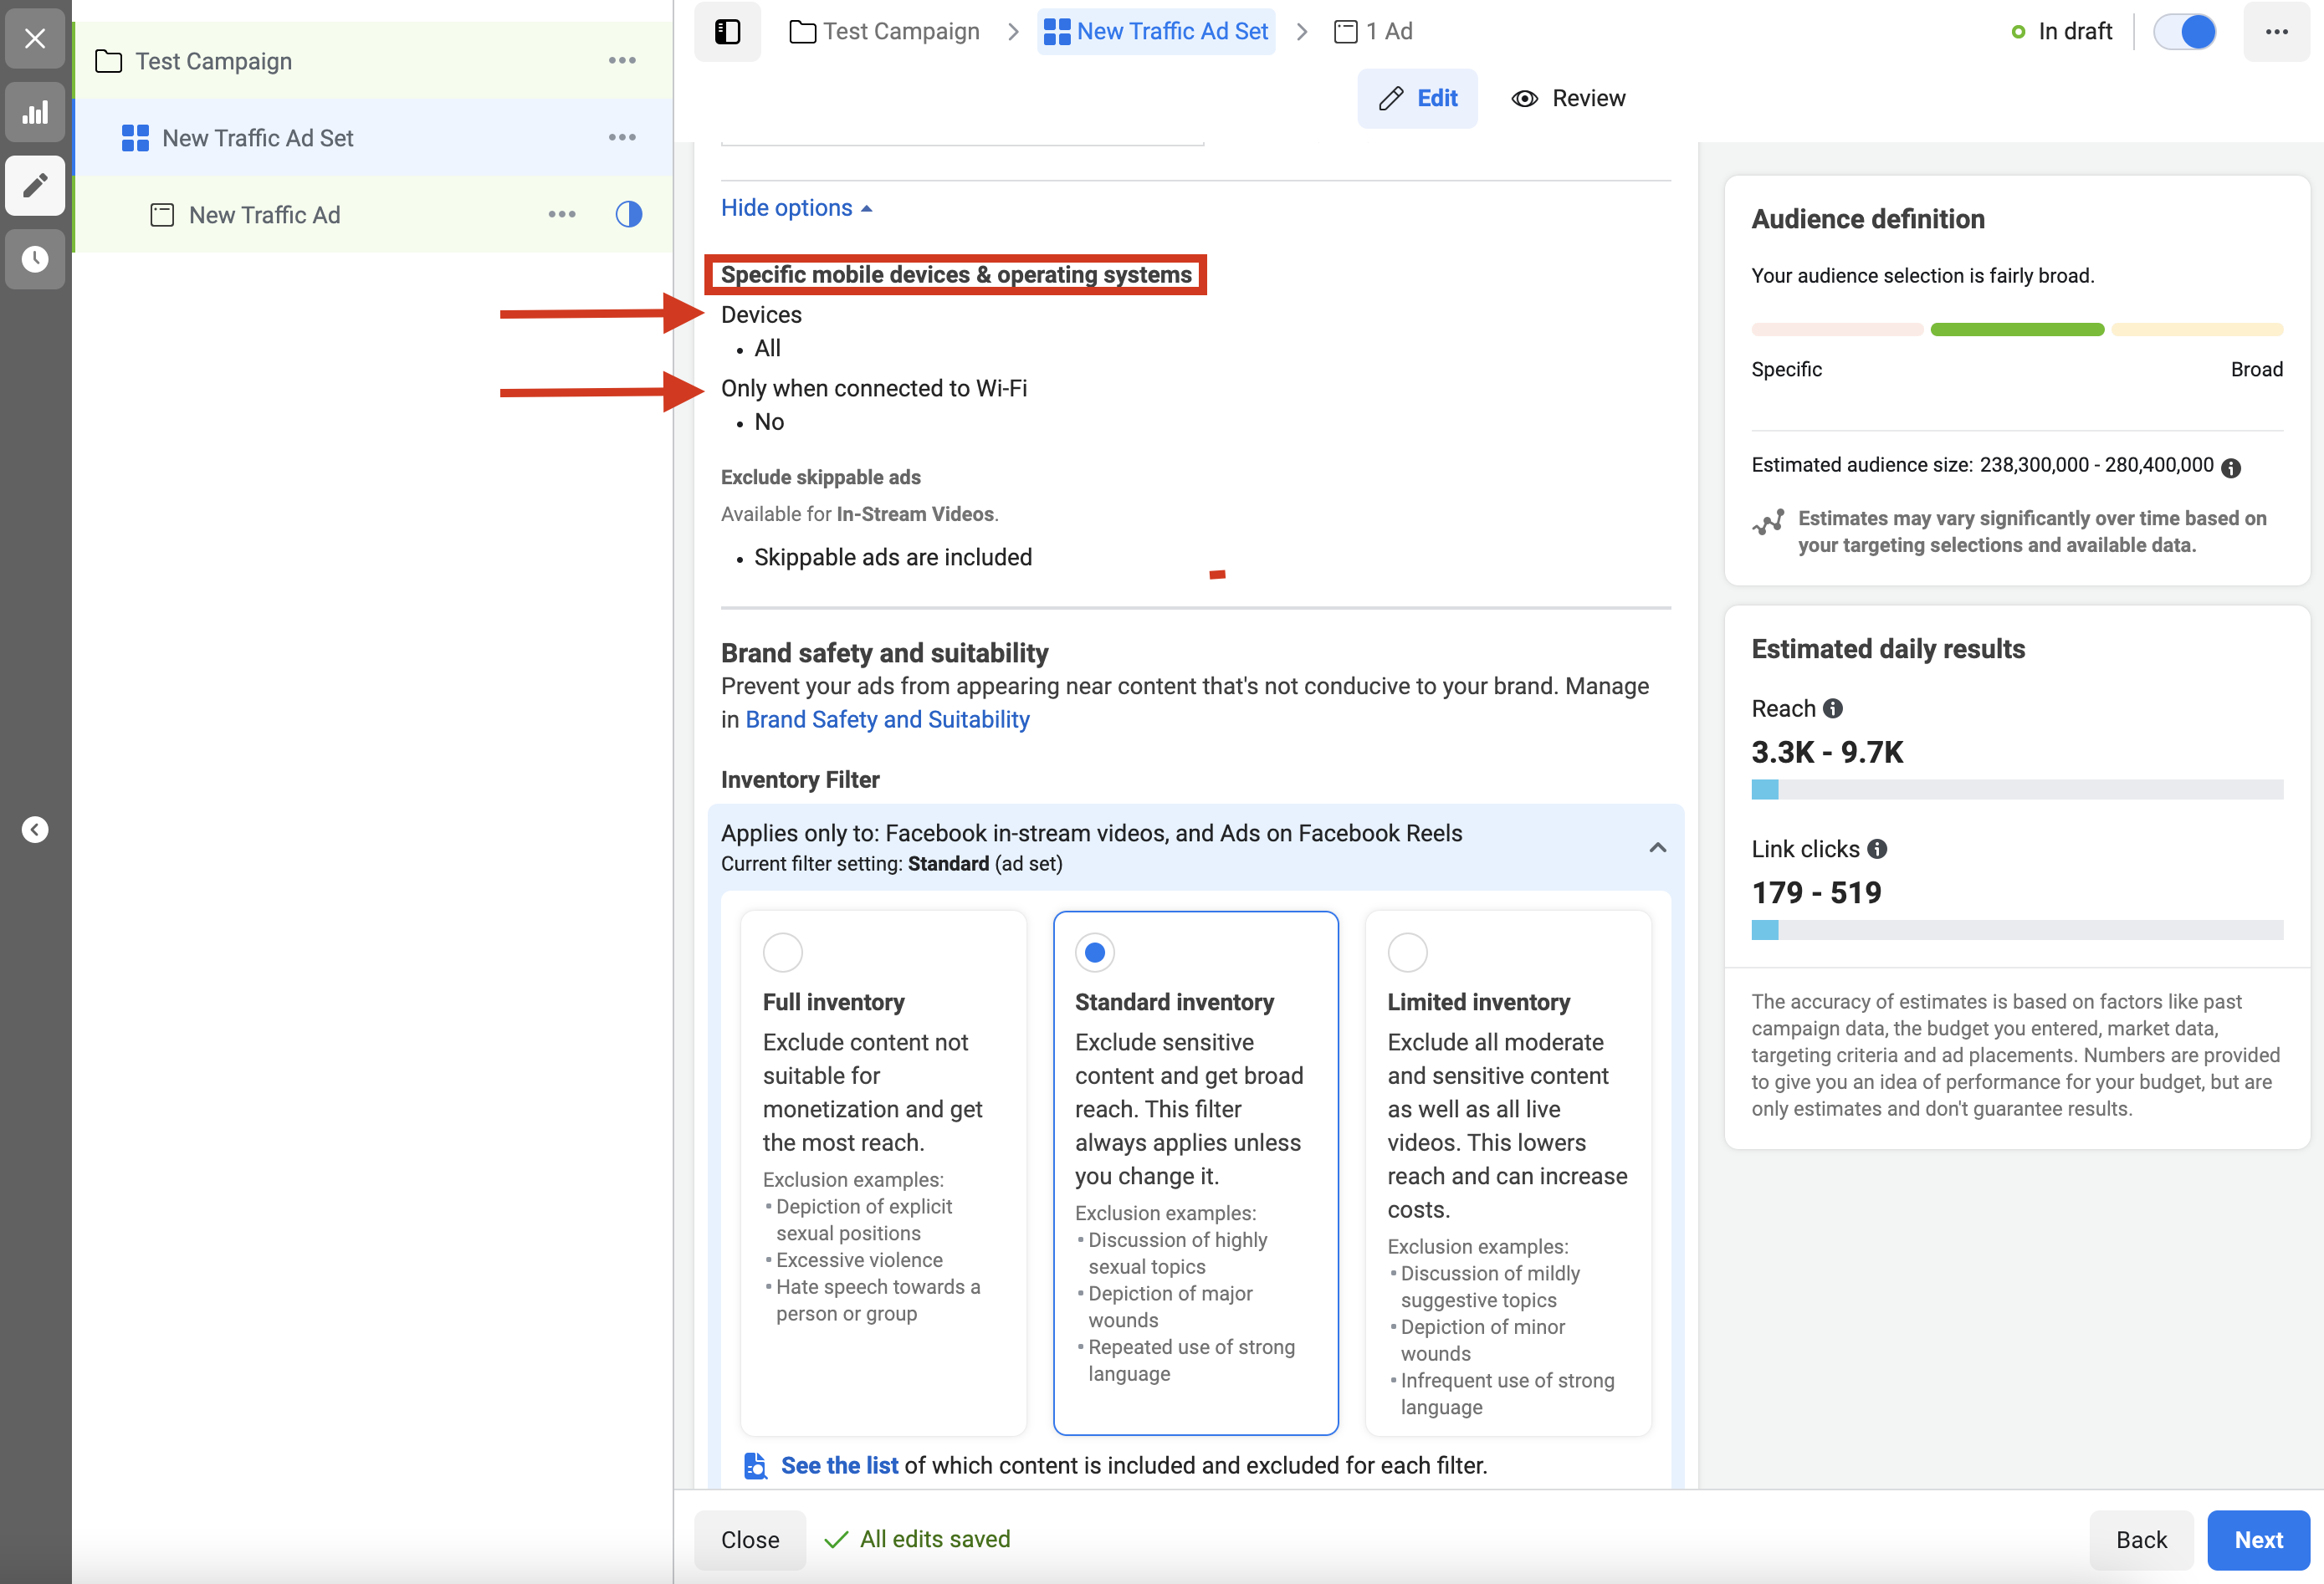
- Click ‘Show more options’ under ‘Placements’
- option to target specific mobile devices
- option for the ad to only be seen if someone is connected to wifi
-
Insert Ad Copy & Create
This is where you create the ad and what people are going to see. Utilize the content provided by BrainCore to promote the quizzes on social media. Copy the verbiage and link you wish to use, and paste it into your social media post or ad.
Need Some Help?
Contact BrainCore’s marketing partner, Pivot Creative, to assist with your social media & marketing needs.